
Blog
Musical Terms Every Producer Should Know – Loopcloud Glossary
15 Feb '2025
Up your game while on your music production journey with this guide to some of the terms you’ll encounter along the way

Image by Philip Boakye on Pexels
Music production is a tricky thing to master. You’ve got to learn how you ‘should’ do it while still always keeping an ear on what would make it sound better – even if sounding better means breaking all the rules.
Here, we’ll cover some of the words and phrases that may come up while you’re refining your craft as a music producer; the ones that might need some explanation and illumination for you to understand and use correctly.
In This Article
Modulation Envelope (Mod Envelope)
ADSR
These four letters describe the stages of a modulation envelope (see Envelope and Modulation). The first stage, A, stands for Attack, the time it takes for the envelope’s output to reach its highest level. The next stage, D, stands for Decay, the time it takes for the signal to drop from this maximum to… The Sustain, S, which is the next stage. This stage is actually set as a level, not a time. The timing of the Sustain stage is often set by how long a note is held. When the note is released, the envelope moves into the Release (R) stage, which determines how long the notes takes to trail off after being released.
Arpeggiator
This device takes incoming MIDI chords and splits them into their individual notes, playing each one by one in a given pattern for as long as the chord notes are held. The name comes from an Arpeggio, which is the musical term for splitting up the notes of a chord in this way.
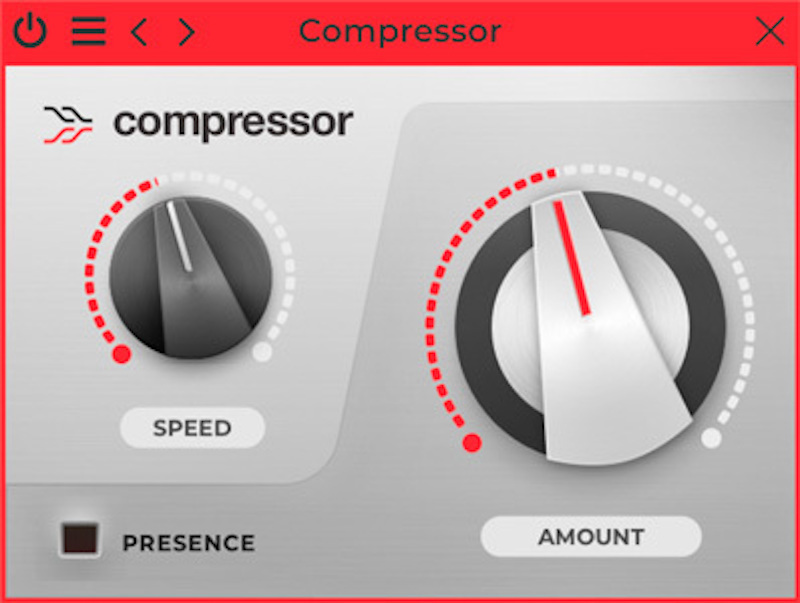
Compression / Compressor
A compressor is used to reduce the dynamic range of a signal. In most cases, this is done by reducing a signal’s level after it crosses a certain level threshold. The user of a compressor will set that Threshold, as well as the Ratio of gain reduction, which usually measures how much gain the threshold would have to be breached by to result in an output of 1dB above the Threshold.
DAW
Digital Audio Workstation. This software app allows you to work with audio, offering a means to record, edit, process and render it. A DAW can also host plugins and play instruments through the use of MIDI.
Dynamic Range
One of the most important concepts to grasp for mixing, after the song-writing and creative aspects are in bed for the night. Dynamic Range is the difference between the loudest parts of an audio signal and the quietest. However, by “the quietest”, we don’t necessarily mean absolute silence. In a drum loop, the constant presence of reverb and room sound may mean the sound never really dies away to nothing. The dynamic range in this case would be lower.
Producers often reduce the dynamic range of an audio signal by reducing the maximum level of the transients in a signal (see Transient). This means you can turn the overall gain back up in order to make the entire signal louder, thanks to the dynamic range being reduced.
The Peak level of a signal is the highest level it goes (or has gone recently), and the RMS is the ‘average’ level over a given time window. By working out the difference between RMS and Peak, you calculate the dynamic range of a signal.
LUFS (Loudness Units Full Scale) are a Decibel scale used to describe the loudness of a signal while taking its dynamic range into account as well.
dB (Decibel)
The unit used to quantify loudness, a Decibel is probably something you learnt about before you were 10 years old. The interesting thing about Decibels? They can be used to measure many signals compared to a given reference. Rather than being absolute, you may find different types of dB scale with difference reference points – dBu, dBA, or dBFS for example. In all these, a change in dB would read as the same change, but the absolute value would be different.
Dynamic EQ
In a standard EQ (Equalizer) effect, you add or remove gain for each band. If you’re using a dynamic EQ effect, this gain isn’t applied constantly. Instead, a band of dynamic EQ is a lot like its own compressor: it creates reduction or an increase in its gain only when the signal passing through that band breaches a threshold.
Dynamic EQ is useful for when you want to put a limit on the amount of energy a band can have, but not to constantly reduce gain in that band as an EQ would. To use a dynamic EQ, set the individual band’s Threshold and Ratio, and dial in timing parameters (Attack and Release) if they’re available.
Envelope
While an LFO is a repeating, cycling modulator (see Modulator), an envelope is a modulator that plays once, like a one-shot (see One-Shot). A common envelope type is an ADSR (see ADSR), which controls the Attack, Decay, Sustain and Release timing and level that give a musical note its character.
An Amplitude Envelope controls the gain applied to a signal over time.
Modulation Envelope (Mod Envelope)
A Modulation Envelope controls another function applied to a signal over time, such as the movement of a filter cutoff (something called a filter envelope).
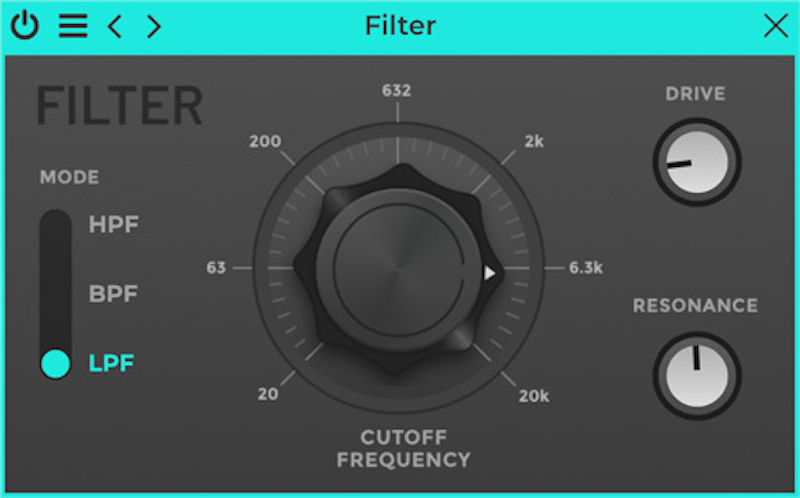
Filter
The electronic circuit that reduces either low frequencies below a certain point or high frequencies above a certain point, depending on the circuitry. Filter ‘circuits’ have, of course, made it to digital technology as part of plugins.
Filters can be used in mixing and arrangement to remove low frequencies or high ones as part of filter sweeps. Technically, every individual band inside an EQ is a separate filter, too.
FM
FM stands for Frequency Modulation, which is the act of using one signal to modulate the frequency (pitch) of another signal. FM can be as simple as playing vibrato in a string, but when applied digitally to audible frequencies, the result is much more complex, and the idea gave rise to FM Synthesis, a whole type of sound generation using the technique.
Frequency
If we talk about the pitch of a musical note or a voice, we are talking about the precise tone it makes, between low and high. The highness or lowness of this note and any sound can be measured as a Frequency. In fact, in one sound there are usually many frequencies present.
Hz (Hertz)
This is the unit of measurement of frequency (see above). Human hearing is said to span from 20Hz to 20kHz, that’s twenty Hertz to twenty thousand Hertz. The unit is named after Heinrich Hertz, so the H is always capitalised. (As with dB for Decibel).
Gain
Gain is the application of a reduction or increase in volume. Even in an analogue-emulating plugin, if you see a Gain control, it’s often supposed to be a transparent, digital gain that adds no colouration to the sound.
LFO
Standing for Low Frequency Oscillator, this audio signal is a slow-moving waveform (usually under 20Hz) that has an effect on another parameter. See Modulator.
Mid/Side
Another tactic in stereo mixing, instead of processing left and right channels discretely, we can process another pair of channels: the Mid and the Side channels. Mid is all the information that is exactly the same between the left and right channels – IE, audio that is mono. Side is all the information that is different between the left and right channels – IE, audio that is stereo only.
Mid/Side mixing and processing can help a producer to focus on the sound of central elements only (such as kick, bass, snare and vocal) or add more energy to the Sides signal for a fuller, more stereo-heavy sound that leaves the central elements clean.
MIDI
The ‘language’ that digital musical instruments use to speak to each other, hence its name: Music Instrument Digital Interface. MIDI began as a project by a few synthesizer companies to help their instruments play together in sync with each other, but it expanded into a standard that’s useable by practically every digital music instrument made from the 90s onward – and that includes almost anything you load into a DAW.
Modulation
In synthesis, or really many other aspects of music production, Modulation is the process of taking a signal and ‘Modulating it’ with another signal.
You could Modulate a signal’s pitch with a slow signal (LFO or Low Frequency Oscillator) to hear the effects quite clearly. You could also modulate the gain applied to a signal or simply modulate a parameter on a process within any signal chain. Modulation can be performed by repeating waveforms (Low Frequency Oscillators, LFOs), or envelopes, which trigger a set pattern when a note is played or an event starts.
One-Shot
You can classify samples into two broad categories, Loop and One-Shot. Loops are usually rhythmic musical fragments like a drum beat, a guitar line, set of chords or a percussion loop. One-Shots are single hits like snare hits, kick drums, FX drop or vocal stabs. One-Shots would usually be dropped into a project to play once rather than cycled over and over as a constantly repeating loop.
In a sampler, when a sample is loaded, you can choose how it will play back. In Loop mode, the sample will usually play to its end then play again from the start, for as long as a note is held down, In One-Shot mode.
Pan (Panning)
In a stereo setup, panning is when an element is moved in its position between the left and right speakers. The word Pan comes from the word Panorama, the virtual sound stage that stereo allows between the two speakers.
Parametric EQ (Equalizer)
An Equalizer is a tool to change a sound’s frequency content, offering a series of Filters that can boost (increase the volume) or cut (reduce the volume) within a specific range of frequencies only. A Parametric Equalizer is an equalizer that gives you control over the settings of these filters specifically. Usually, these controls are Frequency, Gain and Q, which are generally enough to create most shapes you’d want to build.
An example of an EQ that’s not parametric would be a Graphic Equalizer, in which the frequency and (generally) Q of each band stay the same but their gains are changeable by the user of the unit.
Phase
For a repeating waveform (an oscillation or indeed an oscillator), you can think of its sound as repeating the same pattern over and over again. If another signal exactly the same is added to it, then the two signals are said to be “In Phase”.
Now let’s assume that the ‘start of the repeating waveform’ is zero degrees (0º), and the end where the two sync up again would be 360º (but is best thought of as 0º again). Anything between these two is considered to be “Out Of Phase”. From 1º through 180º and anywhere up to 359º, the two signals are out of phase.
Being out of phase has results that depend on each particular waveform, but frequency cancellation is one effect.
Phase can be considered to be a lot like delaying a copy of a waveform, and so literally doing this in your signal chain will cause phase cancellations.
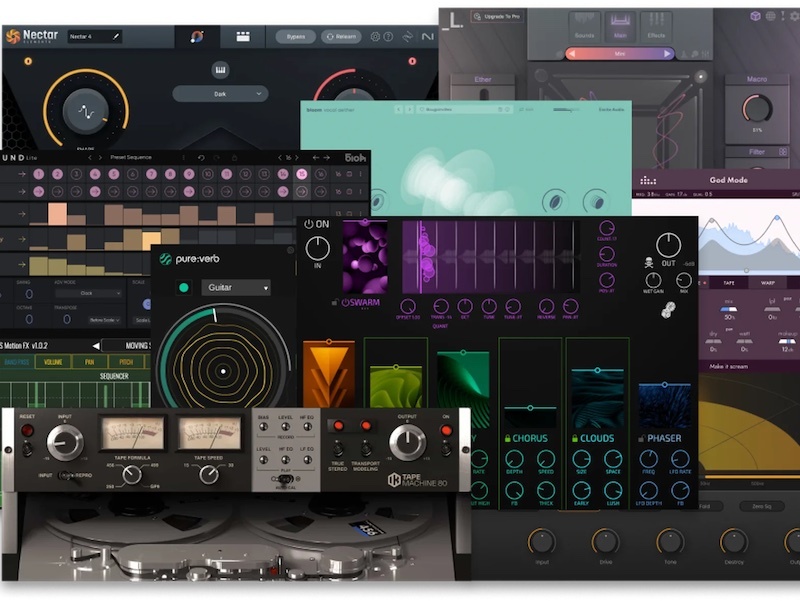
Plugin
A piece of software that integrates with (‘plugs into’) another piece of software. In music production, a plugin will be a piece of virtual kit – an EQ, a compressor, a synth, an analyzer… – that can run inside your DAW. You may know plugins as ‘VSTs’, and you may have purchased one from our sister company Plugin Boutique
Reverb
This is the sound left in the trail after an instrument has sounded. Imagine stepping into a cathedral or other large building, and clapping your hands. What you hear after the clap is the total number of reflections bouncing around between the walls before they reach you again. This is reverb, and we can recreate it virtually using a plugin in a DAW.
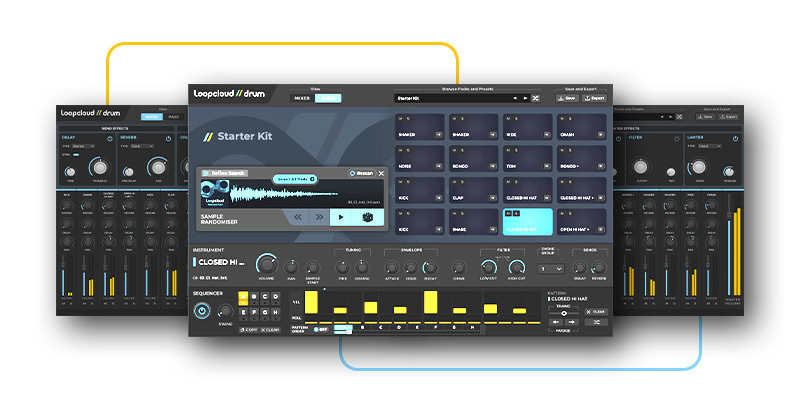
Sampler
Technically, a ‘sample’ is an audio file, and a Sampler is a tool for playing it back in a variety of ways. Early samplers like the Emu Emulator II and the Akai MPC were able to load a sound and manipulate its playback in various ways, helping to birth the unique sound of Hip Hop music along the way.
Modern day samplers can play back an entire fleet of audio samples to recreate a real acoustic instrument, or much more! Sampling is a key skill to master in music production.
Sample Rate
A digital audio file is split into samples, which represent the position of the digital waveform at any point in time. The spacing of the samples (how often they are to be read out) is known as the sample rate or sampling frequency.
In a DAW, you may be asked to choose the Sample Rate of your project or an exported file. A common resolution for this in audio is 44.1kHz. Sound for video applications may prefer the Sample Rate 48kHz.
Sequencer
Your DAW’s piano roll is a sequencer, as can be an old Amiga or Commodore 64. A sequencer is a tool that stores patterns of notes and audio in order to edit and play them back (‘sequence them’). Even synthesizer plugins might have rudimentary sequencers built into them.
Sibilance
The hissing “Ess” sound that’s produced by our mouths when we say S, T or Ch sounds, sibilance is actually an effect of recording very close to a microphone, although the effect can also be made worse by heavy compression later in a signal chain. A De-esser is a tool that can reduce sibilance in a vocal or voice signal.
Sidechain (Sidechaining)
The way producers have come to use the word sidechain has two similar meanings. First, using a Sidechain Compressor (or Sidechained Compressor) is a way of controlling a compressor over one track using the signal from another track. Secondly, ‘Sidechaining’ may refer to volume ducking, which was originally performed through the ‘misuse’ of a sidechained compressor to intentionally pump the audio material going through it. Nowadays, so-called ‘Sidechaining’ is often done by a dedicated plugin.
Subtractive Synthesis
Subtractive synthesis is just one of many different types of sound synthesis you’ll eventually stumble upon. Typically, you’ll start with a waveform rich in harmonic content, like a sawtooth, and then use filters to remove or ‘subtract’ harmonic content. It’s also common for subtractive synthesisers to feature numerous modulation controls, like LFOs, to further shape the sound.
A synth usually has two or more oscillators that generate differing waveforms, combining them together to create a new sound altogether. Of course, they’re usually also jam-packed with many control parameters to finely shape the sound too.
Other common synthesis types include: Additive Synthesis, FM Synthesis (see above), Granular Synthesis, Wavetable Synthesis, Modular Synthesis, Spectral Synthesis and Physical Modelling Synthesis. You can research each type more at your own leisure.
Transient
Transients are an important aspect of sound engineering. They refer to the peaks and troughs in a waveform – the highest and lowest peaking points in amplitude. The reason these are so important is because many processing FX, like compression, rely on a threshold control that will engage with a sound source at its transients first and foremost. It’s also often desirable to specifically target transients of an audio signal, giving us control over the peak loudness.
![]()
Velocity
If you’re a fan of cars… or physics, you might already be familiar with this term. When we use the word Velocity in terms of music and MIDI, it’s usually to identify the speed at which a MIDI musical note is engaged. For example, when you press a key on a piano or keyboard, you can either strike it suddenly, full and fast, or gently press it down. This will determine the velocity of the note and consequentially, this affects the sound. Velocity has a serious impact on both percussion and synthesised/sampled instruments when using a MIDI controller.
VST
Virtual Studio Technology is the full name for VST, the dominant format of music plugin, used to integrate third-party digital instruments and effects with a DAW. VSTs have been the universal standard plugin file type for quite some time. Most DAWs will utilise all VST file types as their primary compatible plugin type. However, some DAWs make use of different plugin file types too like AAX and RTAS (Avid Audio eXtension and Real-Time Audio System) for Pro Tools only and AU (Audio Units) on Mac only.
Waveform
The word ‘waveform’ can be used to describe many different types of waves in the realm of physics and quantum physics when discussing light, subatomic particles, and… in our case, sound. You’ll become accustomed to engaging with sound waves or waveforms very frequently as an audio engineer/ music producer so it’s definitely recommended you explore your inner nerd capabilities and research into just how sound waveforms behave in the real world.
Of course, when we hear sound, we don’t perceive it as some kind of wave, like we see in the ocean at the beach. But, in principle, from a kinetic energy standpoint, they function extremely similarly. If that doesn’t make sense, do your research. You won’t regret it and it will definitely make you a better music producer afterward!


